
How to Look Good in Photos: Photo-Ready Makeup Tips 2025
By Alayah Brantley
How to Look Good in Photos: Photo-Ready Makeup Tips 2025
By Alayah Brantley
Picture this: your makeup, which you spent a lot of time perfecting, looks flawless in the mirror. Then someone snaps a photo and sends it to you—but what you see looks nothing like what you saw in the mirror. Sound familiar? Makeup can be tricky to master for photos. Depending on the lighting or camera used, your look can vanish under harsh lighting or flash. Makeup should ultimately make you feel good in person, but when you’re attending a wedding, graduation, or party where you know there will be lots of photos, it also needs to hold up on camera. In this blog, we’ll break down how to adjust your makeup specifically for photography, so you feel confident and picture-perfect in every shot.
Start With Skin: Prep Is Non-Negotiable
Fundamental to all makeup looks, good skin prep is nonnegotiable. For photos, it’s important to be hydrated—but not shiny. Contrary to popular dewy makeup trends, matte skin tends to be photographed better.
Start with a cleanser to remove any dirt or buildup. Then apply toner or serum based on your skin type. For oily skin, focus on balancing or clarifying products. For dry skin, it boosts hydration. Regardless of skin type, use a deeply hydrating moisturizer—dry skin can cause flakiness or creasing, so it’s essential to keep it well-moisturized. You can also use an illuminating primer for a 'lit-from-within' glow. For oily skin, a silicone-based matte primer will help control shine.
@charismastev Chile it took me a while to get here 🙏🏾 no more bright flashback!!! luminizer @Rare Beauty skin tint @makeupforever bronzer @LYS Beauty blush @elfcosmetics concealer @Bobbi Brown powder #hudabeauty spray #milanicosmetics brow pencil #nyxcosmetics lip serum #laneige #Beauty #makeuptutorial #digitalcamera ♬ カフェでボサノバを聴く休日 - ya-su
Base Makeup That Won’t Wash You Out
Unlike your daily routine, photo makeup needs more contrast to avoid looking flat or washed out. Choose a foundation with a neutral-warm undertone and medium to full coverage—sheer formulas won’t hold up under bright lighting. Pay attention to product compatibility: if you use a silicone-based primer, pair it with a silicone-based foundation; do the same for water-based formulas. This helps prevent pilling from mismatched ingredients.
To ensure your makeup shows up well on camera, use the product layering technique. Start with cream products as your base, then set them with powder versions. Apply blush, contour/bronzer, and concealer in cream form, then follow with their corresponding powder counterparts. Blend upward—especially with blush and contour—to lift the face, as powders can read harsh or drag the features downward in photos. Most importantly, set everything with a powder that doesn’t cause flashback. Opt for a translucent powder or one that matches your skin tone.


@cakefacehaze how to layer cream and powder products to achieve a perfect base🥵🥵 #baseroutine #creambronzer #creamblush #blending #makeuptutorial #fyp #greenscreen ♬ original sound - hazel🍒
Eye Definition That Doesn’t Disappear
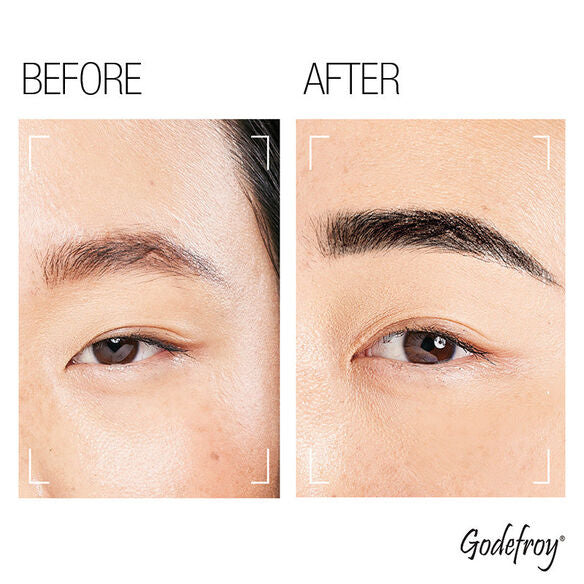
Brows and eyes need to be more defined on camera than they do in person. Starting with brows—these frame the face, so it’s important they’re filled in and bold enough to show up clearly in photos. Use a brow tint or pomade to ensure full, opaque coverage.
Eyes help set the tone of your overall makeup look heavy eyeliner gives a grungy vibe, a cat eye reads classic and smoked-out shadow leans glamorous. Regardless of the style, always use waterproof mascara to prevent smudging. To keep your eyes looking open—especially when using dark eyeliner or mascara—add a nude or white liner to your lower waterline. This small step helps balance heavier eye looks and keeps your eyes from appearing smaller on camera.


Lip Color That Shows Up
Unless you're going for a bold red lip as the focal point of your look, choose a lip product that adds color while still complementing the rest of your makeup. Make sure your lips are exfoliated and well-hydrated before applying any product. Start with a long-lasting lip liner to define and shape your lips. Then apply a semi-matte or highly pigmented lipstick to create even, rich color. Finish with a lip gloss or balm to keep your lips hydrated and add dimension.
Finishing Touches and Setting Strategy
The final step in your photo-ready routine is locking everything in place with a good setting spray. Your skin type matters here too—choose a mattifying spray for oily skin, and a more hydrating one for dry skin. Like setting powders, some setting sprays are specifically formulated to work well with flash photography, helping you avoid unwanted shine or white cast.


Ultimately, photo-ready makeup is slightly bolder and more structured than your everyday look, with less emphasis on glow and more focus on definition and balance. The goal is to enhance your features in a way that translates well on camera, under various lighting conditions. Understanding your skin type and following the correct order of product application is essential for achieving a smooth, long-lasting finish. From prepping the skin to layering products and locking everything in with setting spray, each step plays a role in creating a look that stays put and photographs beautifully. With the tips above, you’ll be equipped to create makeup that not only looks great in person but also holds up flawlessly in every shot.


Read More
-

Why are my eyebrows thinning and what can I do about it?
Andrew CampbellThinning eyebrows are a common concern that many people experience for a variety of reasons. As you age, the hair...
-

Skin Barrier Products Take Center Stage
Andrew CampbellSkin Barrier Products Take Center Stage Taking care of your skin is one of the most important preliminary steps...
-

Skinimalism Is Not “Less Makeup.” It’s Better Taste.
Andrew CampbellSkinimalism makeup isn’t about skipping products—it’s a refined “less is more” aesthetic. Discover how this trend’s focus on healthy skin,...


