
How to Safely Bleach Your Brows at Home: A Step-by-Step Breakdown
By Juliet Torres Gonzales and Ivanna Nguyen
How to Safely Bleach Your Brows at Home: A Step-by-Step Breakdown
By Juliet Torres Gonzales and Ivanna Nguyen
Why Bleach Your Brows?
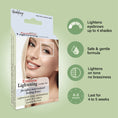
Bleached brows are back and having their moment- and for good reason. Whether you're aiming for that runway-inspired editorial look, creating contrast against vibrant hair colors, or simply want a minimalist aesthetic, lightening your brows can dramatically transform your appearance. But before you dive in, it's important to understand how to achieve this look safely and effectively. In todays blog, we will cover everything you need to know about bleaching your brows, post bleach aftercare, and common mistakes to avoid. Lets get started.
What You’ll Need: Tools and Materials
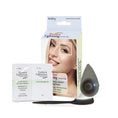
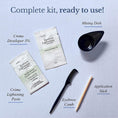
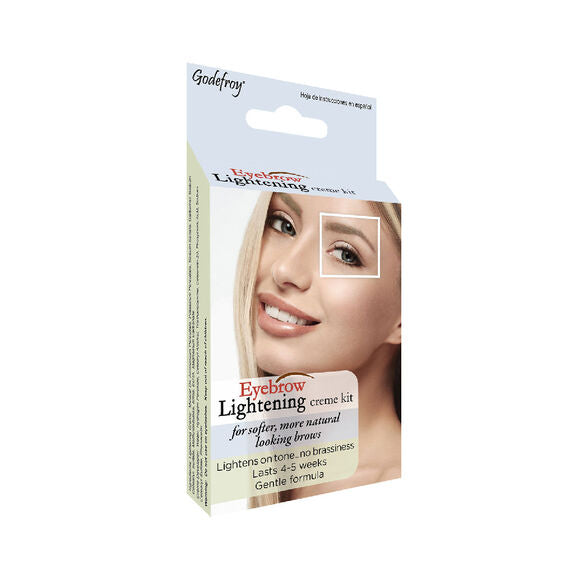
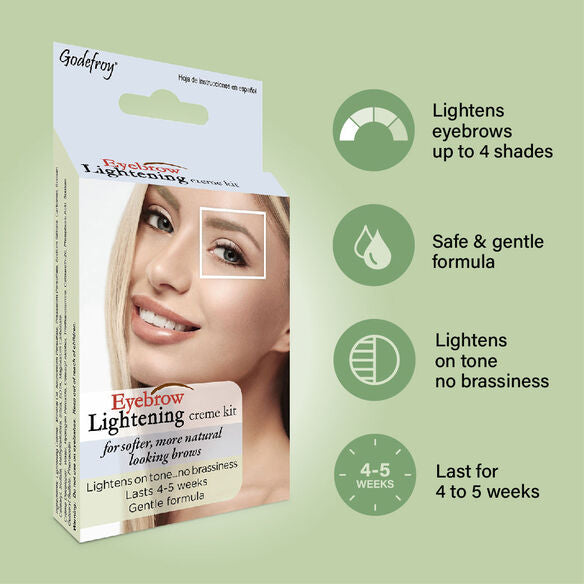
Before starting the bleaching process, it’s essential to have the right tools and materials ready. The most important item is a gentle, brow-safe bleach kit. Godefroy Eyebrow Lightening Creme is a reliable choice specifically formulated for eyebrow hairs, and it conveniently comes with everything you'll need, including a mixing bowl and precision brush.
Along with your bleach kit, have the following items handy:
- Spoolie or cotton swabs (for extra precision)
- Petroleum jelly to protect the skin around your brows
- Some sort of timer
- Gloves (optional, but recommended for sensitive skin)
Having these materials ready beforehand ensures a smooth and safe bleaching experience.


Pre-Bleach Preparation
Safety comes first; especially since we are dealing with bleach. Always perform a patch test 24–48 hours before bleaching your brows to ensure you're not sensitive to the product. Here’s how to prepare before you lighten your brows:
- Clean your brows thoroughly, removing all makeup and oils.
- Apply petroleum jelly around the brow area. This creates a protective barrier for your skin, helping to prevent any irritation or accidental skin lightening.
Step-by-Step Bleaching Process
- Mix the bleach according to the product instructions provided in your kit.
- Carefully apply the bleach using the included precision brush or a spoolie, focusing solely on brow hairs and avoiding direct skin contact.
- Set a timer—typically 5–10 minutes—but always reference the instructions included with your Godefroy kit, as processing time may vary based on the shade you desire.
- Closely monitor your brows during the process. Once your desired shade is achieved, thoroughly rinse your brows with water to completely remove the product and halt further bleaching.
@godefroybeauty I heard we are lightening our brows this summer🤭 Godefroy Beauty’s got you covered 🍉☀️🏖️ #summermakeup #bleachbrows #GodefroyBeauty #Summerlooks ♬ Pretty (Sped Up) - MEYY
Post-Bleach Aftercare
After rinsing off the bleach and revealing your lightened brows, proper aftercare is key to keeping them healthy and irritation-free.
If your eyebrow bleach kit includes a neutralizing solution, apply it right away to stop the bleaching process and restore pH balance. This helps prevent dryness and minimizes sensitivity.
Next, replenish moisture. Natural oils like castor oil or aloe vera gel are ideal. Castor oil supports brow growth, while aloe soothes the skin. Use a clean spoolie or fingertip to apply a small amount daily to the hairs (not the skin).
For the next few days, avoid heat, steam, or hot showers, which can irritate the delicate area. Also skip harsh exfoliants, retinols, or acids around the brow zone. These can cause dryness or disrupt your results.
A simple, gentle routine will help your bleached brows stay soft and strong—without over-processing.
Common Mistakes to Avoid
DIY brow bleaching is safe when done right—but easy to mess up if you're not careful. Avoid these common mistakes:
1. Leaving the bleach on too long: Over-processing can lead to brittle, patchy brows. Stick to the timing in your Godefroy instructions and check progress frequently.
2. Applying too close to the eyes or skin: Use a spoolie or angled brush to coat only the brow hairs. Always apply petroleum jelly around the area to create a protective barrier.
3. Using scalp bleach instead of a brow-safe formula: Instead, go for a gentler product designed for eyebrows, like the Godefroy Eyebrow Lightening Creme.
4. Re-bleaching too soon: Give your brows time to recover: ideally wait 2–4 weeks—before attempting another round. In the meantime, moisturize and avoid tweezing.


@saraahmoradi The easiest eyebrow lightening process ever! @Godefroy #ugc #ugccreator #ugccontentcreator #ugcportfolio #ugcexample ♬ champagne - G Sounds
Final Tips
Bleached brows can completely transform your look—but the key to pulling them off is doing it safely and maintaining healthy hair.
Not ready to commit? Test the look with white/light concealer or a light brow pencil to mimic the effect before bleaching. This no-commitment hack helps you decide if the trend is right for you.
If you’re unsure about the process or have sensitive skin, consider seeing a professional for your first lightening session. A licensed brow expert can help you achieve the perfect shade without compromising safety.
Once you’ve taken the plunge, touch-ups every 3–4 weeks will keep your brows looking fresh. Between sessions, focus on hydration with castor oil or a nourishing brow serum, so that your brows stay healthy/the hairs don't turn brittle.
With the right tools, technique, and care routine, bleached brows aren’t just a trend—they’re a bold beauty statement you can rock confidently. Thanks for reading! If you'd like more beauty tips and tricks, be sure to check out last week's blog post.
Read More
-

Why Beauty Is Moving Toward Simple, Multi-Step-Less Routines
Andrew CampbellBeauty culture Why Beauty Is Moving Toward Simple, Multi-Step-Less Routines The new luxury in beauty is not a longer shelf....
-

Why are my eyebrows thinning and what can I do about it?
Andrew CampbellThinning eyebrows are a common concern that many people experience for a variety of reasons. As you age, the hair...
-

Skin Barrier Products Take Center Stage
Andrew CampbellSkin Barrier Products Take Center Stage Taking care of your skin is one of the most important preliminary steps...


