DIY Lash Lift and Tint: Safe Techniques and Top Products
By Mehrien Sultana and Alayah Brantley
DIY Lash Lift and Tint: Safe Techniques and Top Products
By Mehrien Sultana and Alayah Brantley
The DIY girls have done it again! This time with lash lifts and tints. DIY lash lift kits have increased in popularity all over social media and in the beauty market lately. However, as with all new trends, they pose the questions: What is a lash lift? Is it safe? What is the process like? The Godefroy beauty team researched DIY eyelash lifting and tinting to explain the process and provided our recommendations.
First and foremost, what is an eyelash lift and tint?
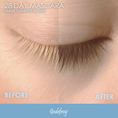
An eyelash lift is the process of curling and setting the eyelashes in place, so they remain curled and set for up to six weeks. Think of it like a perm for your eyelashes! An eyelash tint is the process of dyeing the lashes, so they appear darker and more prominent. Together, these two can give the appearance of lifted, striking lashes with a mascara-like effect!
Tools/Products You Need for a DIY Lash Lift and Tint
Lash Lift Kit:
There is no need to go to the salon or pay extra for these types of services. Many DIY lash kits are available online. We recommend the Ayasal lash lift kit, which comes with all the tools and products you need. Another good lifting kit is by Luxe. Like the Ayasal kit, it includes everything you need and claims to last up to eight weeks. This kit is more simplistic and can be purchased based on the number of applications.
Lash Tint Kit:
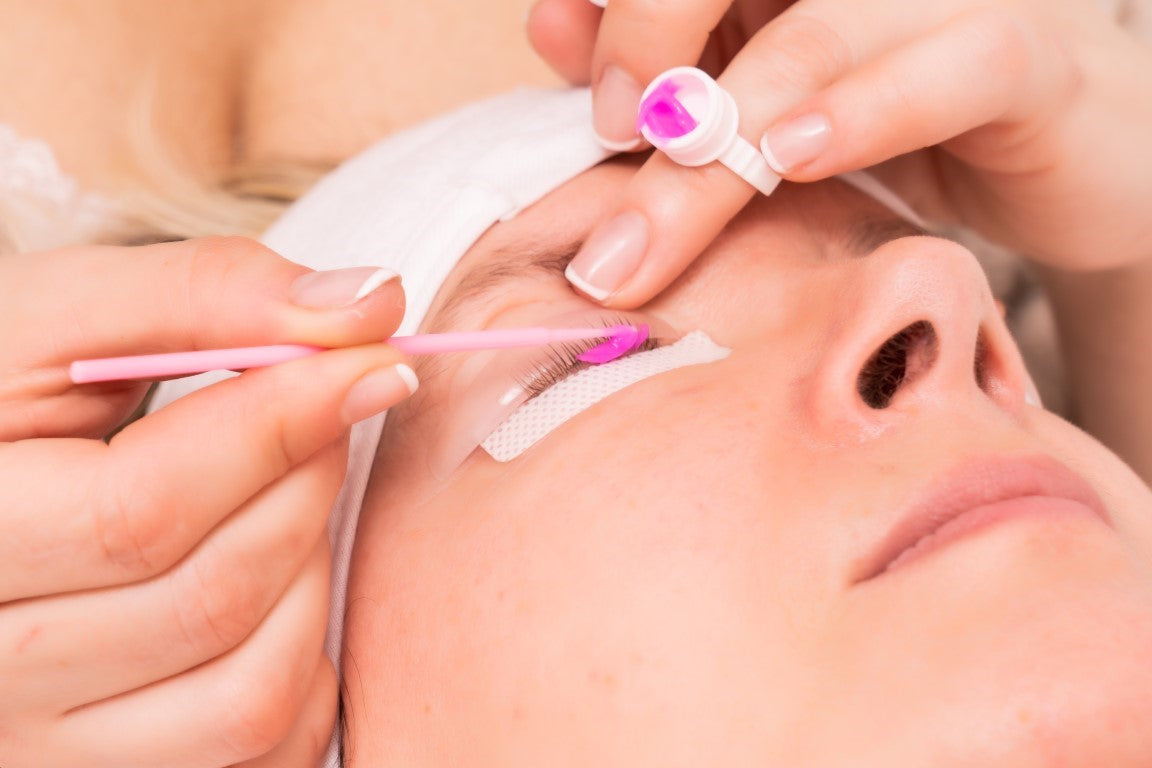
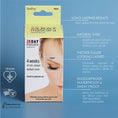
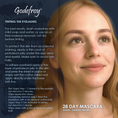
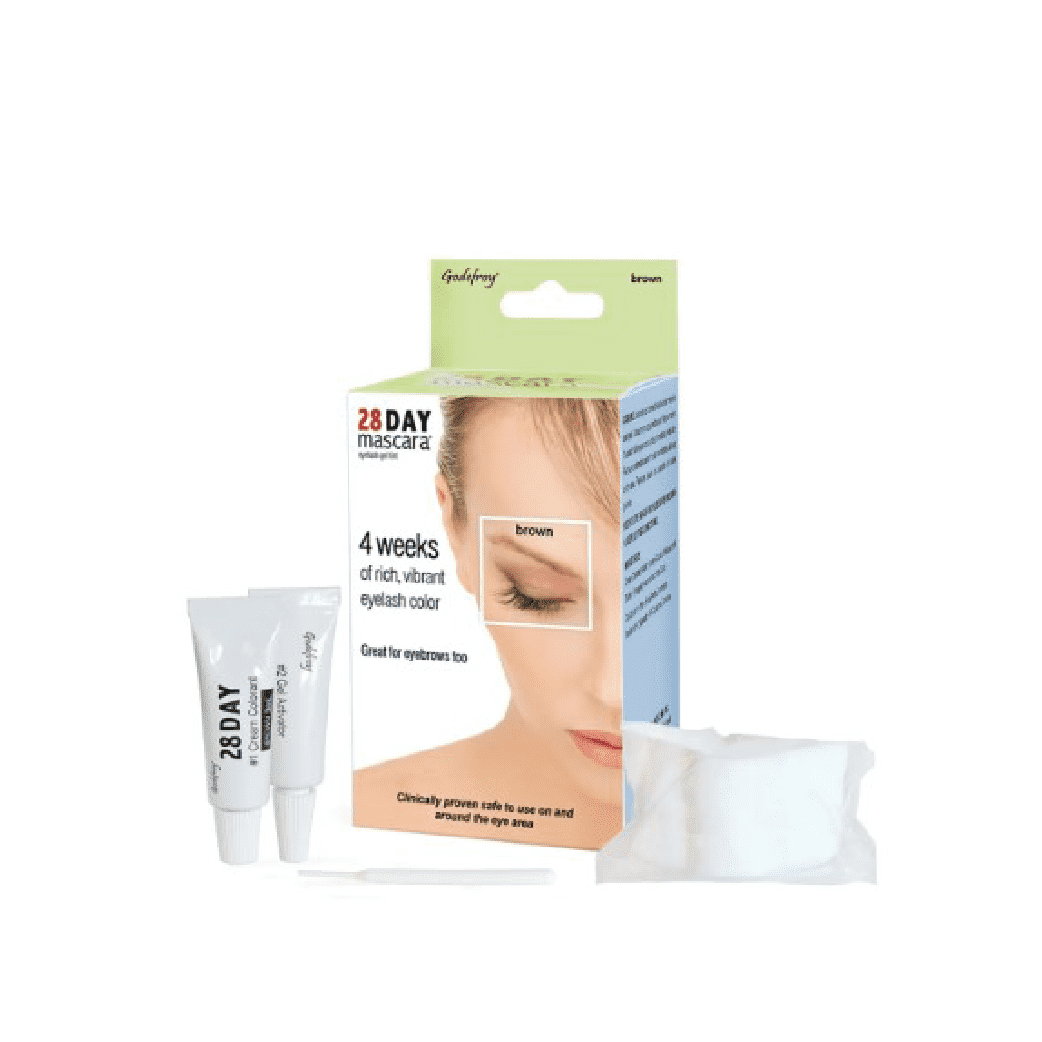
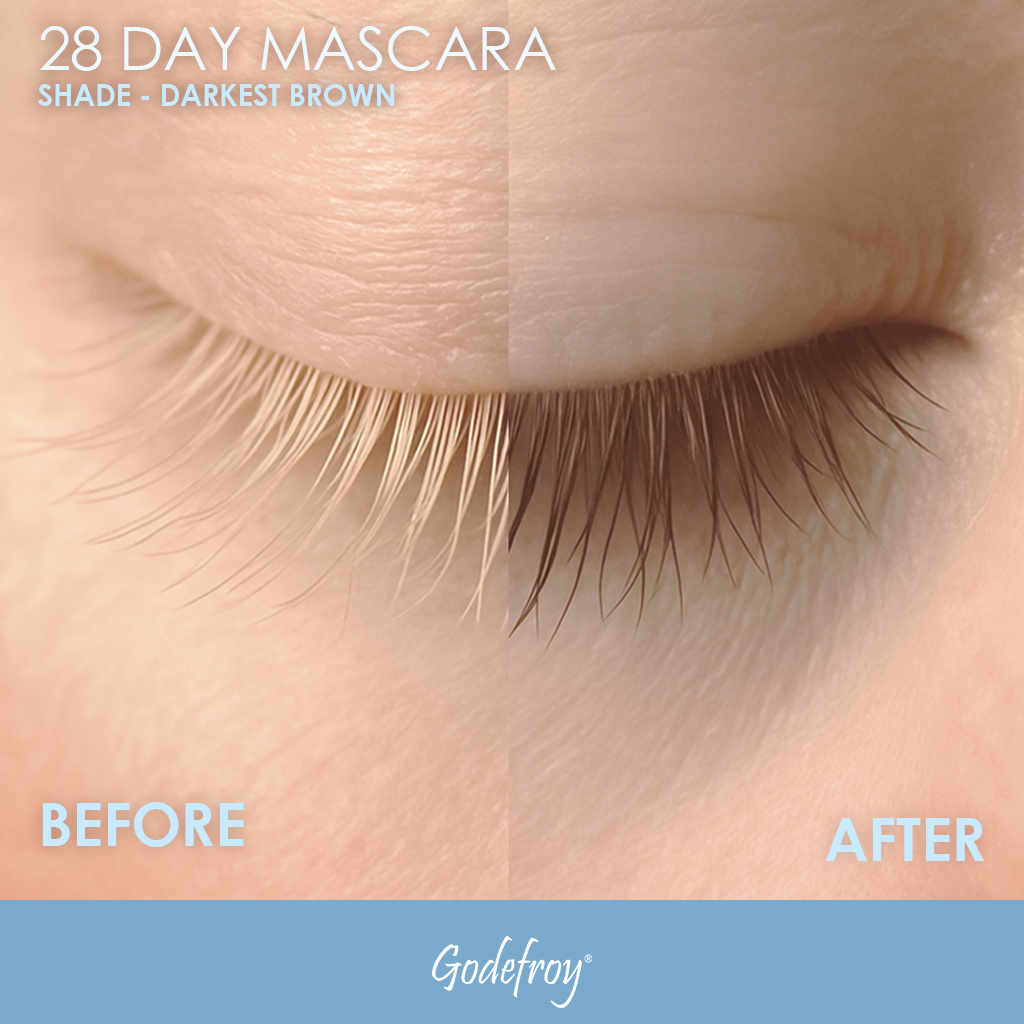
For the tinting portion of this process, we recommend Godefroy’s 28 Day Mascara. This tinting kit comes in single or 25 applications and will last up to four weeks. With only two solutions, the tint is easy to use and will provide extra definition to your lashes after they are lifted. This product has a non-toxic formula that is safe and effective for use on eyelashes.

Additional Tools
Both kits listed above come with everything that you need to lift and tint your lashes at home. However, for a complete and quality tinting experience we recommend a few extra products...
- Petroleum jelly: This will help to protect your skin during the tinting process, especially if it is more sensitive. It is important to note that all the products in the lash kit are tested and safe for use around the eye area. Petroleum jelly will just lessen the chances of any irritation. It can also be used in the tinting step to avoid staining the skin around the eyelashes.
- Under eye pads: These are not included in the Luxe set, but they ensure a mess free application and create a barrier should any perming solution transfer to the under-eye area.
- Micellar Water: Use micellar water to clean your lashes of any dirt or leftover makeup before tinting. It is important to have clean lashes before starting the lifting and tinting process.
Product Ingredients:
One of the biggest concerns with eyelash lifting is the safety of the solutions. The main ingredient in both perming kits listed above is thioglycolic acid. This chemical alters the bonds of the hair follicles to curl them into place. The solutions are combined with other bonding and hydrating ingredients in cosmetically safe amounts. Both kits also provide nourishing lash serums to hydrate the lashes.
For the lash tint, Godefroy’s 28 Day Mascara combines its formula with natural ingredients to nourish the lashes while tinting them. The formula contains no hydrogen peroxide or coal tar dyes.


Step-by-Step Guide to Performing a Lash Lift and Tint at Home
Both kits follow a similar process, but we will be working from the Ayasal kit.
Step 1: Clean and Isolate Lashes
Step 1: Clean and Isolate Lashes
- Clean your eyelashes thoroughly. Use Micellar water to get rid of anything on your eyes.
- Use the provided shield to isolate your upper lashes. This kit comes with multiple shields varying in size chose the size that best fits the type of curl you want. Using the adhesive provide apply a small amount all over the back of the shield and some to the front. Wait a little bit in between to make sure it is tacky. Then push the lashes on to the shield making sure to separate and shape them into place.
Step 2: Apply Lift Solution
Step 2: Apply Lift Solution
- Use the Size 1 brush to apply the Lift Solution to your lashes.
- Ensure you coat the lashes evenly from root to tip.
- Keep your eyes closed during this process.
- Leave the Lift Solution on your lashes for 8-12 minutes. The exact time depends on how much lift you want.
Step 3: Rinse
Step 3: Rinse
- Rinse off the Lift Solution using the provided cleansing solution.
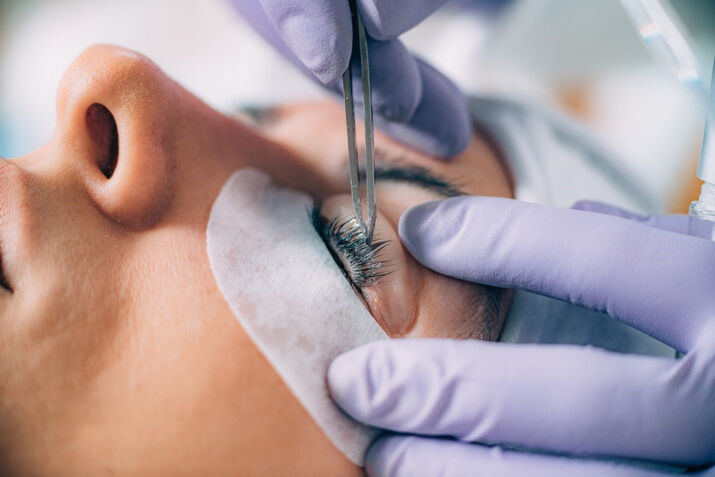
Step 4: Apply Fix Solution
Step 4: Apply Fix Solution
- Use the Size 2 brush to apply the Fix Solution to your lashes.
- Coat the lashes evenly from root to tip.
- Keep your eyes closed during this process.
- Leave the Fix Solution on your lashes for 8-12 minutes. Again, the time depends on how much curl you want.
Step 5: Rinse
Step 5: Rinse
- Rinse off the Fix Solution with warm water. Then apply the Nourishing Serum to your lashes to moisturize and protect them.
@angelaxbeauty I will neverrr stop doing lash lifts 🥹😍
♬ original sound - Angela Chalet
Safety Precautions and Tips for a Successful Lash Lift and Tint
Patch Test: Allergies to lash lift and tint solutions are uncommon, but a patch test is crucial. Apply a small amount of each solution to your inner forearm, wait 24 hours, and monitor for redness, itching, or swelling.
Eye Protection: Keeping the solutions away from your eyes is important. Use eyelash shields or cut a cotton pad shaped like a crescent moon and place it under the eye during the process. If accidental contact occurs, immediately flush your eyes with cool, clean water for 15 minutes and seek medical attention.
Common Mistakes:
- Over-processing: Leaving the solutions on for too long can damage your lashes. Follow the kit instructions precisely and set a timer for each step.
- Uneven application: Uneven application of lifting pads or solutions can result in an asymmetrical lift. Use a lash lift tool or a cotton swab for precise application.


Aftercare: Maintaining Your Lash Lift and Tint
Immediate Aftercare (First 24-48 hours):
- Avoid water, steam, sweat, and makeup.
- Don't rub your eyes or sleep on your face.
Long-Term Care:
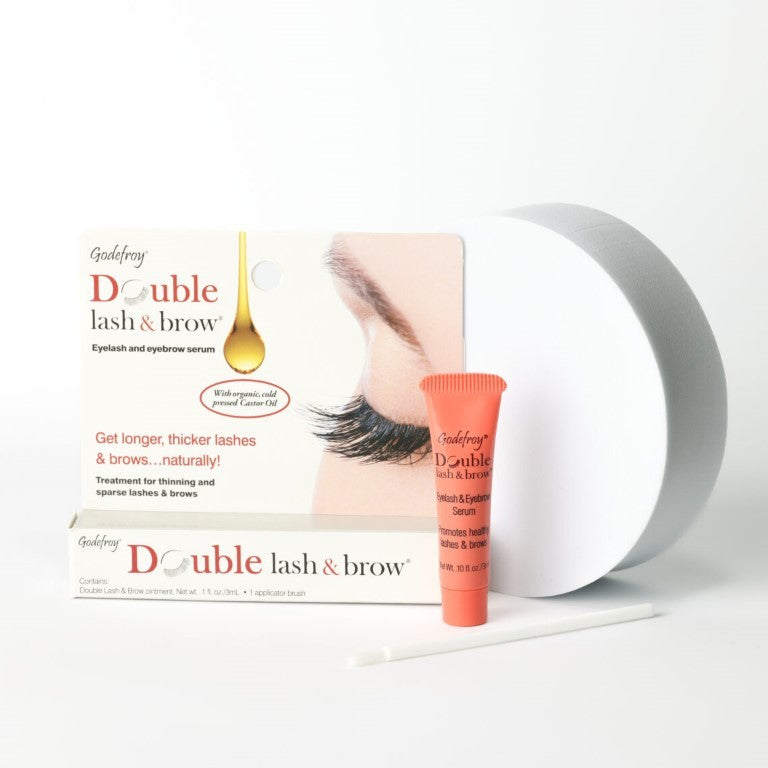
- For long-lasting hydration and healthy lash and brow growth, consider using a lash serum like our Double Lash & Brow. This deeply nourishes and strengthens lashes and brows. Castor oil helps increase blood circulation to the follicles, promoting thicker, fuller lashes and brows over time.
- Extend the life of your lash and brow tint with a nourishing aftercare treatment like our Color Keep. This formula combines deep conditioning benefits with color protection, and even promotes healthy lash and brow growth, all thanks to its castor oil infusion.

In Conclusion
With proper preparation and aftercare, a DIY lash lift and tint can be a safe and rewarding way to achieve beautiful, lifted lashes at home. By prioritizing safety and following these tips, you can enjoy the confidence of gorgeous, natural-looking lashes for weeks to come
No matter which routes you choose, Godefroy Beauty is here to be your one-stop shop for all things lashes! We offer a wide range of lash care products designed to keep your lashes healthy and looking their best. From nourishing lash serums to gentle lash cleansers, we've got everything you need to achieve show-stopping lashes, safely and effectively. Thanks for reading.
Read More
-

Can Makeup Go Bad in a Hot Car? What Heat Really Does to Your Beauty Products
Andrew CampbellThat makeup bag in the back seat has been through more than a little warmth. Here is how heat can...
-

Why Beauty Is Moving Toward Simple, Multi-Step-Less Routines
Andrew CampbellBeauty culture Why Beauty Is Moving Toward Simple, Multi-Step-Less Routines The new luxury in beauty is not a longer shelf....
-

Why are my eyebrows thinning and what can I do about it?
Andrew CampbellThinning eyebrows are a common concern that many people experience for a variety of reasons. As you age, the hair...


